Pelican casesare available with a variety of inserts, but the most widely known and used insert is Pelican’s Pick’N’Pluck foam. These pre-scored layers of foam make it simple to create highly customized foam inserts that fit your gear perfectly. Depending on the size of your case, a Pick’N’Pluck foam insert will have between one and six layers of pre-scored foam plus a solid piece of foam for the bottom of the case and a piece of convoluted foam for the lid of the case. Altering the bottom or lid layers of foam may compromise your insert’s ability to effectively protect your gear.
Follow these steps to create your very own Pick’N’Pluck foam insert.
Step 1: Lay It Out

Some people find it easier to remove the insert from the case before making it. Others prefer to leave it in the case while they work. Do whichever works best for you.
Begin by laying out the items you want to keep in the case on top of the Pick’N’Pluck foam. Remember to leave room for cushioning between the gear you are keeping in the case. A one-cube wide wall is the minimum amount of cushioning you should use between items, but depending on the delicacy of your equipment you may want to leave as much as 2” of cushioning in place. Consider creating a catch-all cutout for small items like wires and clips to save on space. If your Pelican case is large enough, a Micro Case like the 1050can be used as a catch-all.
Step 2: Trace It Out

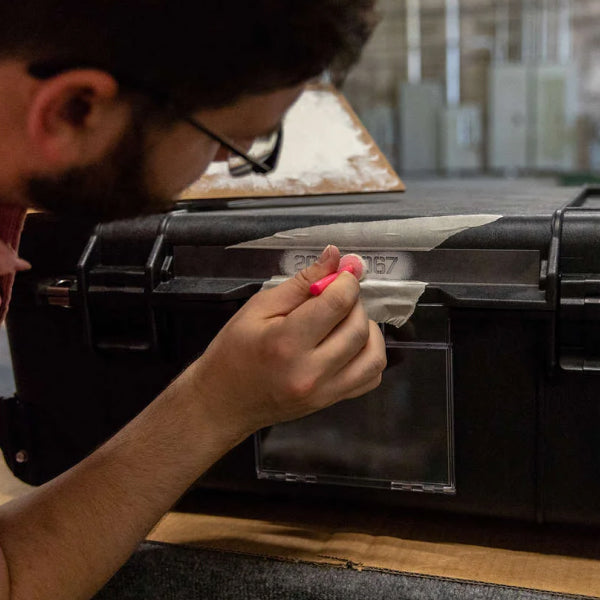
You’ll want to use chalk to trace around your gear so that you know which areas to pluck. Some folks use a permanent marker for this, but if you use chalk then any remaining marks can be wiped away at the end of the process with a damp rag. If you really don’t want to leave marks, you can use toothpicks to mark out the corners of the areas you’ll need to pluck. Before moving onto the next step, look over your foam to ensure you’ve left enough cushioning between items.
Step 3: Pluck It Out

Place your gear off to the side. Now you can begin to pluck out the cubes of foam inside the areas you traced. If you prefer to use a blade to cut each area out, that is always an option. Just make sure to follow proper knife safety. In order to provide the best protection for your gear, you’ll want the items to sit flush with the top of the layer of foam. To adjust the depth of the cut out you can either layer plucked out cubes in the cutout or use a knife to cut down the entire plucked-out section as a whole.
If you make a mistake while plucking your foam, don’t fret! Fully remove the mistakenly plucked piece and apply a contact spray adhesive, like 3M Super 77 Multipurpose Spray Adhesive, before replacing the piece and allowing the adhesive to set. Be sure to follow the application directions of the product you are using.
Step 4: Round It Out

Once you’ve finished plucking out the foam and padded the cutouts as needed, place your items in the cutouts you’ve created for them. You want a snug fit to ensure that your gear doesn’t move around when you are transporting your case. It may be necessary to make adjustments—either plucking out additional foam or gluing foam back in place—to achieve the right fit. Clean off any chalk marks and allow any adhesive to set completely. Now you are ready to pack up your Pelican case with your customizedPick’N’Pluck foam insert. Easy peasy!

Case we used for demonstration: beam.is/1500yellow
Foam we used for demonstration: www.beam.is/1500foam
Replacement foam for a Pelican case: www.beam.is/replacementfoam
Pelican case accessories: www.beam.is/collections/case-accessories
_______________
Need any help?
sales@beamdistributing.com
(804) 440-6489

